Top Ten Side Dishes to Serve with an Easter Ham
July 1, 2025
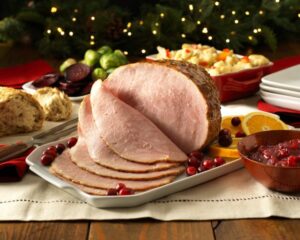
Discover the best side dishes to serve with an Easter ham, from scalloped potatoes and green beans almondine to sweet potato casserole and cornbread, all perfect for completing your holiday meal. Easter is a time of celebration, and what better way to celebrate than with a delicious ham as the centerpiece of your meal? Whether […]